Accessing WordPress Logs on Your Site
In this article, we will review how to access WordPress error logs for your website to assist in debugging a problem. There are a few locations that logs can be found – all need to be accessed through an SFTP connection.
MyBionicWP Control Panel Logs Method:
The Logs tab can be accessed from a site’s settings page (https://my.bionicwp.com/sites/> select individual site > Logs tab). For easy access and quick filtering, you can choose which error logs to show. These are sorted under 4 Status Codes and can be selected from the drop-down menu.

The Refresh button loads the most recent logs. The logs are displayed on the Control Panel directly and are formatted to give important information at a quick glance.
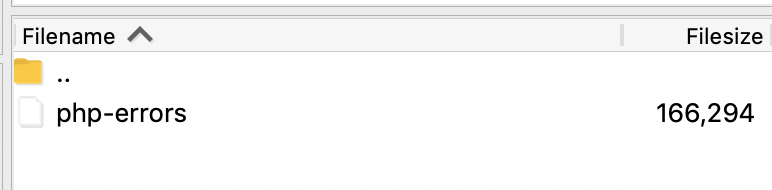
php-errors
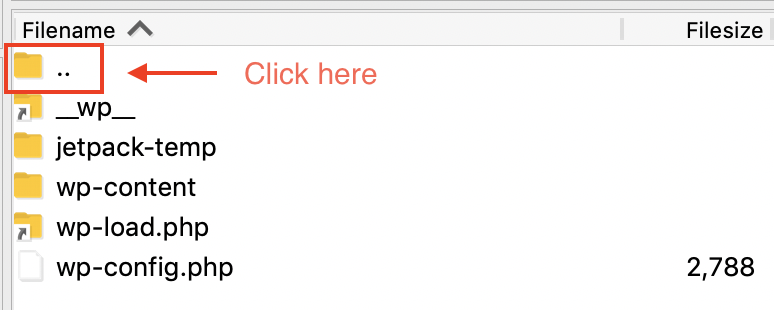
This error log file is automatically generated and can be accessed via SFTP. It is located above the site root, in a folder called /tmp. You will need to connect to the server via SFTP and then move up one directory (outside of the /htdocs directory) to find the /tmp folder.

WP_DEBUG_LOG
You can enable a WordPress debug log through the wp-config.php file found via SFTP in your site root. You will need to edit wp-config.php and look for a line that reads:
define( 'WP_DEBUG', false );
Replace it with these three lines:
define( 'WP_DEBUG', true );
define( 'WP_DEBUG_LOG', true );
define( 'WP_DEBUG_DISPLAY', false );
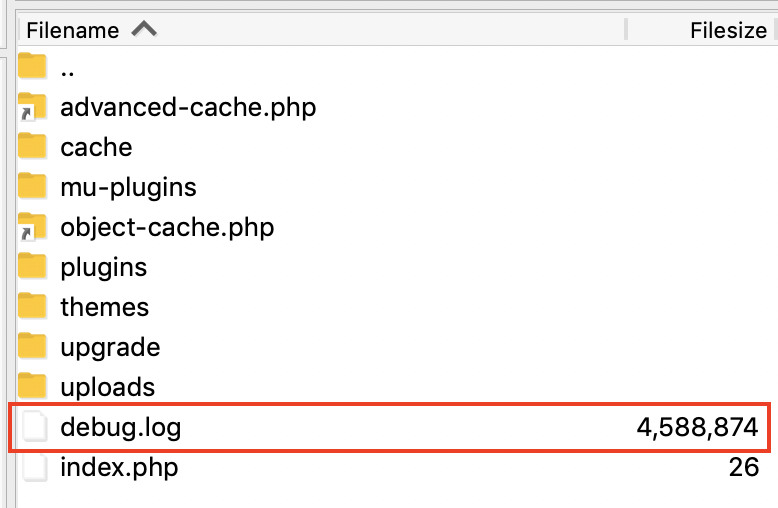
Your debug.log file will then be generated within the /wp-content directory.
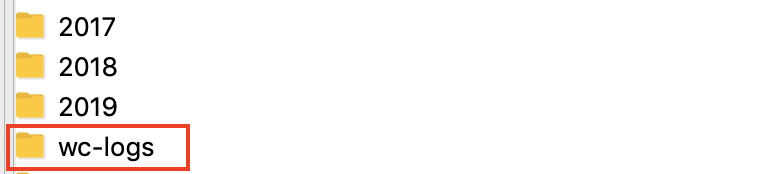
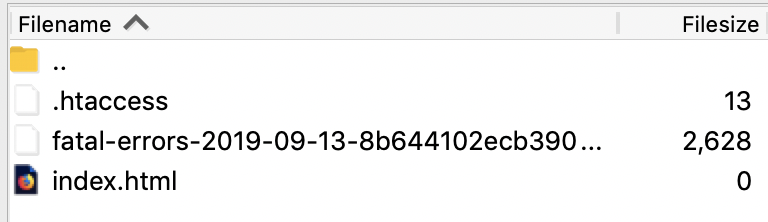
WooCommerce wc-logs
If your site includes a WooCommerce store, WooCommerce also generates its own logs within /wp-content/uploads/wc-logs. Those can be accessed through SFTP.